Hmmm….what to do with you, oh gigantic, tasty box of Lucky Charms?! Do I carefully sort out your pink hearts, blue moons and green clovers to save for later? Or should I pour out a big ol’ bowl, splash on the milk and chow down? Decisions…
Since it’s almost St. Patrick’s Day, I’m thinking about all things associated with this green day…leprechauns, pots of gold at the end of ROY G. BIV… And cheesecake! The weather is turning somewhat springy here in the Mid-South, which means I’d rather be outside in the warm sun than in a warm kitchen. Lucky Charms No-Bake Cheesecake it is!

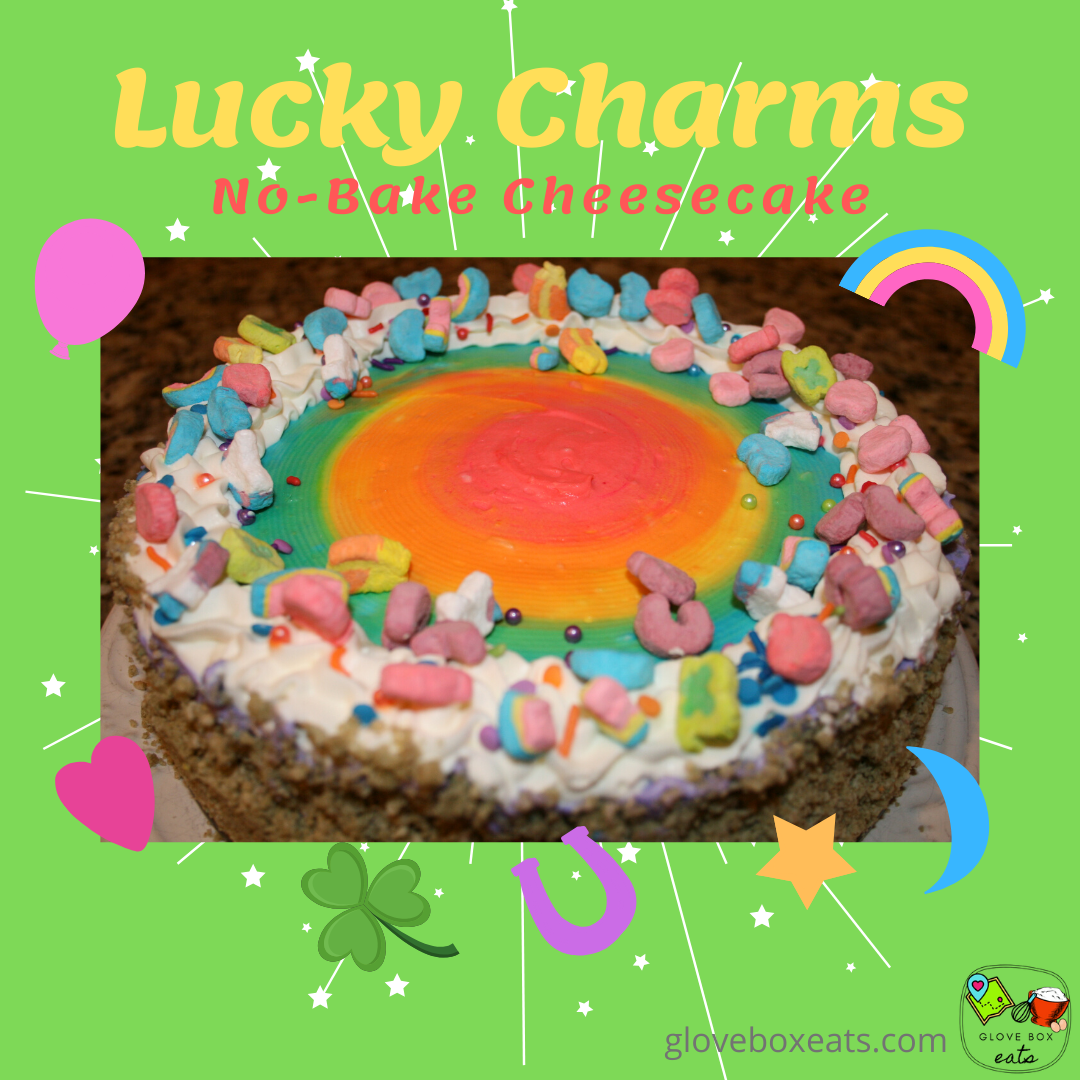
In this magical cheesecake, the graham cracker base is swapped out for a crushed Lucky Charms crust. The cream cheese filling is a combination of cream cheese, marshmallow fluff, powdered and granulated sugar. Marshmallow fluff is a nod to Lucky’s colorful candy-like bits, while the powdered and granulated sugars help stabilize and soften the cream cheese. Sour cream off-sets the sweetness and adds tang. But the key in this recipe is using slightly sweetened whipped cream. Along with the marshmallow fluff, whipped cream makes the filling light and airy. Like those clouds surrounding a rainbow!

To achieve the rainbow effect, color the filling into ROY G. BIV colors (red, orange, yellow, green, blue, purple). Spoon each color into a gallon size zip-top bag, snip a corner, and pipe the filling into concentric rings in the crust. Repeat until the filling is used. If this sounds like too much work, leave the filling white or color one shade. Green would be lovely!
The true pot-of-gold at the end of this delicious rainbow is this recipe is completely no-bake! No hot kitchen. No hot-water cheesecake bath. This means more time outside in the sun or spending time with family and friends! Prep it up to 2 days ahead of time and use. Or prep and freeze for up to 3 months.

Since this heavenly colorful dessert is made with cereal, why not have a piece for breakfast! I did! Hopefully, you’ll find this Lucky Charms No-Bake Cheesecake magically delicious too!
PrintLucky Charms No-Bake Cheesecake
Pink hearts, blue moons and puffed cereal create this light-as-air, no-bake cheesecake. Slightly sweet and tangy, enjoy it as an after-dinner dessert…or for breakfast.
- Author: Erin Thomas
- Prep Time: 20-30 Minutes
- Total Time: 8 Hours Chilling + 20 Minutes Prep
- Yield: 10–12 slices 1x
Ingredients
For Cereal Crust:
2 cups finely crushed Lucky Charms cereal (About 4 cups out of box)
1 tbsp. granulated sugar
1/2 cup + 2 tbsp. (1–1/4 stick) unsalted butter, melted
For Cheesecake Filling:
1–1/4 cups heavy cream, cold
2 tbsp. powdered sugar
3–8 oz. packages cream cheese, at room temperature
1–13 oz. jar marshmallow fluff
2 tbsp. granulated sugar
2 tbsp. powdered sugar
1/4 cup sour cream, at room temperature
2 tsp. vanilla
1 tsp. almond extract
Food coloring to make red, orange, yellow, green, blue and purple colors
For Whipped Cream Garnish:
1/2 cup heavy cream, cold
1 tbsp. powdered sugar
Additional cereal marshmallows
Cake decorating sprinkles
Instructions
To Make Cereal Crust:
Stir crushed cereal, granulated sugar and melted unsalted butter together in a medium size bowl until evenly combined. Firmly press into the bottom and sides of a lightly greased 8-inch or 9-inch springform pan. (Using a 1/4 cup measuring cup to help press crust into the pan is helpful.) Chill in the freezer while preparing the cheesecake filling.
To Make Cheesecake Filling:
Using either a standing mixer or hand-held mixer, beat cold heavy cream and 2 tbsp. powdered sugar until stiff peaks form, about 2 to 3 minutes on high speed.
In a separate large bowl, beat cream cheese, marshmallow fluff, granulated sugar, and powdered sugar until smooth. Add sour cream, vanilla, and almond extract. Continue beating until smooth and well-incorporated. There shouldn’t be any lumps. Gently fold stiff whipped cream into the cream cheese mixture until evenly combined. If not coloring the filling, pour directly into chilled crust and refrigerate.
If coloring the filling or using the rainbow design, divide filling evenly into 6 bowls to color into red, orange, yellow, green, blue and purple colors. Gently stir colors into filling. Pipe each color into concentric circles inside the crust. Repeat until filling is completely piped into crust. Smooth top with an off-set spatula.
Pour into prepared cereal crust. Use a knife to swirl the colors together, if desired. Cover pan with either aluminum foil or plastic wrap. Refrigerate cheesecake for 6 to 8 hours, or up to 2 days, before serving.*
To Make Whipped Cream Garnish:
Using a standing or hand-held mixer, whip heavy cream and powdered sugar until stiff peaks form. Pipe onto cheesecake in decorative design (if desired). Garnish cheesecake with additional marshmallows and sprinkles.
Notes
*This cheesecake is perfect for making ahead of time. You may freeze it, if necessary, for up to 3 months. Tightly cover the pan first with plastic wrap and then with aluminum foil to create a tight seal. Thaw frozen cheesecake in the refrigerator before serving. If freezing, decorate the cheesecake with the Whipped Cream Garnish, cereal marshmallows, and sprinkles after thawing.


